
Unlocking 3D Printing: A Beginner's Guide with Orca Slicer!
Find out how Orca Slicer takes the 3D printing process from installation, to your first successful print, and everything in between, making it all very user friendly for beginners.
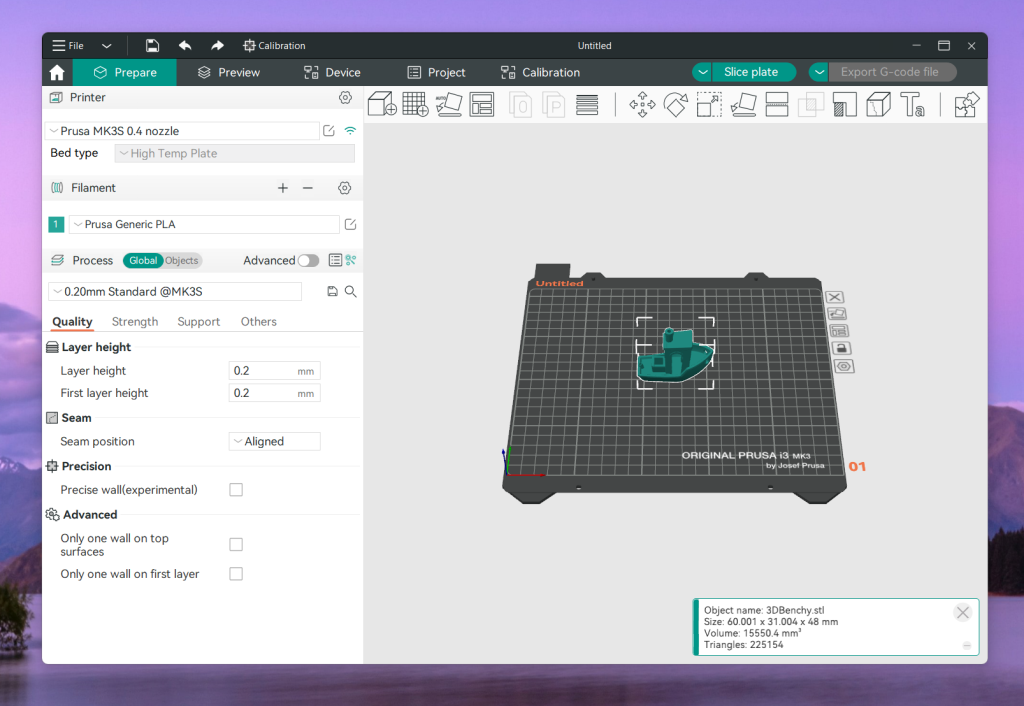
What is Orca Slicer?
Orca Slicer is like a faster translator for your 3D printer. You add your 3D model and it slices your model into detailed instructions (G-code) your printer can process. Here’s the twist: unlike the slicers that come with many printers, Orca Slicer wasn’t developed by a company. It was built by the 3D printing community, for the community.
It’s open source, completely free, and includes features that are smart enough to get a beginner print professional-level results with no engineering degree required.
Many default slicers feel clumsy or dumbed down; Orca gives you more control, better calibrating tools, and a more cleaner workflow without adding complexity to the user experience. Think about it like switching from your default camera app to an app that gives you the ability to adjust focus, lighting, and zoom — but still gives you great pictures with the touch of a button.
If you're sick of not quite being able to squeeze out the full potential of your printer, or overwhelmed by all of the settings you don't understand (or need) - Orca Slicer is that unicorn: powerful, yet still approachable.
Getting Started with Orca Slicer
Getting up and running with Orca Slicer is easier than you might think. Whether you're on Windows, macOS, or Linux, the setup process is fast, flexible, and beginner-friendly.
🧩 Step 1: Download & Install
Orca Slicer is available for all major platforms:
- Windows (.exe)
- macOS (.dmg)
- Linux (.AppImage)
Just head over to the official GitHub releases page, download the version for your system, and install like you would any other app — no command-line acrobatics required.
💡 Tip: On Linux, make sure the AppImage file is executable (
chmod +x OrcaSlicer.AppImage) before running it.
🖨 Step 2: Setting Up Your Printer Profile
When you first open Orca Slicer, it will guide you through the process of selecting a printer. Many popular models from Bambu Lab, Creality, Prusa, etc., are already part of the system; simply select yours from the list, and you're ready to begin!
Don't have one of those printers? No sweat! Simply manually create a custom profile with your own printer details, such as their dimensions, nozzle size, and firmware type. Orca also supports importing profiles from other slicers like PrusaSlicer or Bambu Studio.
📦 Step 3: Importing Your First 3D Model
Orca Slicer supports all the standard 3D file types:
.STL– The go-to for most models.3MF– Includes advanced metadata like colors and materials.OBJ– Useful for detailed meshes
You can drag and drop your files straight into the main window or use the top-left File → Import menu. The model will instantly appear on your virtual print bed, ready for slicing.
Key Features Every Beginner Needs to Know
Orca Slicer has many capabilities however, you really only need to know a few key features to get amazing prints from the start. There are 4 features every beginner should know:
Understanding Layer Heights
Layer height refers to the thickness of each layer in your print. Using a smaller height (for example, 0.1mm) will give you smoother prints with more detail, but using a larger height (for example, 0.28mm) will allow you to print faster, but with more noticeable lines.
🎯 Rule of thumb:
- Use 0.2mm for a good balance of quality and speed.
- Go finer for detailed models, coarser for quick prototypes.
🧱 Infill Settings
Infill controls the internal structure of your print. More infill means more strength — but also longer print times and more material used.
- 20% infill is enough for most decorative or display models.
- 40–60%+ is better for functional parts that need durability.
- Orca also lets you choose infill patterns (like grid, gyroid, or cubic) for different strength and flexibility needs.
🔧 Tip: Less is often more — don’t overdo it unless needed.
Supports – When and Why
If your model has parts that overhang (parts that stick out and do not have anything underneath), you will need supports to avoid sagging or problems with the print.
Orca Slicer has the ability to auto-generate supports based on the angle thresholds or you can manually place custom supports if you want more control.
Use them only when absolutely necessary. Using supports increases print time and print cleanup.
Preview Mode – Your Final Checkpoint
Before you hit "Slice" and export the G-code, switch to Preview Mode. Preview Mode show a simulated preview layer-by-layer of exactly how your printer will print the object.
You’ll be able to:
- Spot missing or unsupported areas
- See how supports and infill will be generated
- Check travel paths and print time estimates
✅ Always preview before printing — it’s like proofreading a document before hitting “Send.”
Initial Print Checklist
Ready to get started? Here’s a straightforward checklist to ensure that your first print with Orca Slicer goes well:
Level the Bed
Having a properly leveled print bed is essential for good adhesion and print quality. Follow the leveling process for your printer (manual knobs or auto-leveling sensor) to get the nozzle the right distance from the bed.
Load Filament Correctly
Ensure that your filament is loaded properly clean, dry, and feeding smoothly into the extruder. Preheat your nozzle to the filament recommended temperature before loading.
G-code Slicing & Exporting
To use Orca Slicer, set your print settings and then click Slice to create your G-code. Check the preview once more to see that everything looks good. Export the file to your preferred option (SD card, USB, and/or connected).
Printing with Confidence
When the G-code is on your printer, you can start printing. Watch the first few layers to help you ensure good adhesion and smooth extrusion. If everything looks good, you can relax and watch your creation in person!
Common Beginner Mistakes and How to Fix Them.
Getting good prints typically requires a little practice, but Orca Slicer can help you troubleshoot like a pro! Below are a few things that will occur more often than you may think - along with a couple of quick troubleshooting methods to keep your prints on track:
🖨️ Prints Not Sticking to Bed
If your print lifts, warps, or peels off:
- Increase bed adhesion settings (like adding a brim or raft).
- Make sure your bed is clean and level.
- Try slightly raising the bed temperature to help filament stick better.
🧵 Stringing or Blobs
Tiny strings or blobs on your print can ruin the finish:
- Increase retraction distance and/or speed in Orca’s settings.
- Lower printing temperature slightly to reduce filament oozing.
- Enable “Combing” or other travel path optimizations to minimize moves across open spaces.
🧱 Poor Layer Bonding
If layers are weak or separate easily:
- Increase your extruder temperature within your filament’s recommended range.
- Slow down print speed for better layer fusion.
- Check that your filament is dry; moisture can cause weak bonds.
Helpful Troubleshooting Resources
FAQs
Is Orca Slicer complimentary?
Yes! Orca Slicer is completely free and open source — no hidden fees or subscriptions.
Will this work with Creality printers?
Sure. Orca Slicer can be used on a variety of printers, including some of the most popular printers they make, using default profiles or customizable profiles.
Do I need to be advanced user to use this?
Not at all. Orca Slicer is designed for beginners in mind, with a range of useful presets and guides, as well as strong capability for advance users.
Summary
Orca Slicer makes 3D printing simple for anyone whether you are beginning or looking to take your prints to the next level with advanced features. Its community design, ease of use, and robust features are why Orca Slicer stands out as a go-to solution for makers everywhere.